Teaching chain of custody in the forensics classroom
Chain of custody is the least interesting part of a forensics course and the part most likely to decide whether a real finding survives contact with a lawyer. It's a habit, not a topic, and habits are built by repetition from the first day. Here's how to teach it so it sticks.
Why it goes in week one
If custody is taught as a lecture in week 9, students learn it as trivia. If every lab from week 1 begins with a form and a hash, students learn it as the thing you do before you look at evidence, the way a pilot does a walk-around. By the capstone nobody has to be reminded, and the form in the appendix of their report is already complete.
The deeper reason is that custody is where the method of forensics lives. A finding is only as good as the claim that the evidence it came from is the evidence that was collected. Students who have hashed and logged every item they've ever examined understand that claim in their hands, not only in their notes. Our 14-week course pack puts it in the first lab for this reason.
The fields that matter
A classroom form should be the same form a working examiner would use, trimmed of nothing. The chain of custody form on our free resources page has these fields, and each one is there because its absence has lost a case somewhere:
- Item identifier. A unique label for the evidence item, assigned at collection and never reused. In class, the case name plus a number is fine.
- Description. Make, model, serial, capacity, and for an image file, the filename and format. Enough that a stranger could pick the item out of a pile.
- Collected by, from whom, where, when. Names, a location, a date and a time with the zone written out.
- Hash at acquisition. The algorithm and the value, in full. SHA-256 by default; MD5 only alongside it, never alone.
- Transfer rows. Every change of hands: released by, received by, date, time, purpose. Each row signed by both parties.
- Storage and condition. Where it sits between transfers, and the state of any seal or write-blocker.
Students will ask why the form needs their name twice. Because the form is a record of who could have altered the evidence, and a gap in that record is exactly what opposing counsel is looking for.
Hashing on receipt is the first row
Make this the rule for every lab: before any tool opens the evidence, the student computes its hash, compares it to the hash the instructor published, and writes both into the first transfer row of the form along with the time. The row says, in effect, "I received this item at this time and confirmed it's the item that was sent".
Three things happen when you insist on it. First, students discover that hashing takes thirty seconds and stop treating it as a ceremony. Second, when a download is corrupt or a student has opened the wrong file, the mismatch surfaces before an hour of analysis is wasted on it. Third, the final report has an unbroken line from the published hash to the finding, which is the thing the form exists to produce.
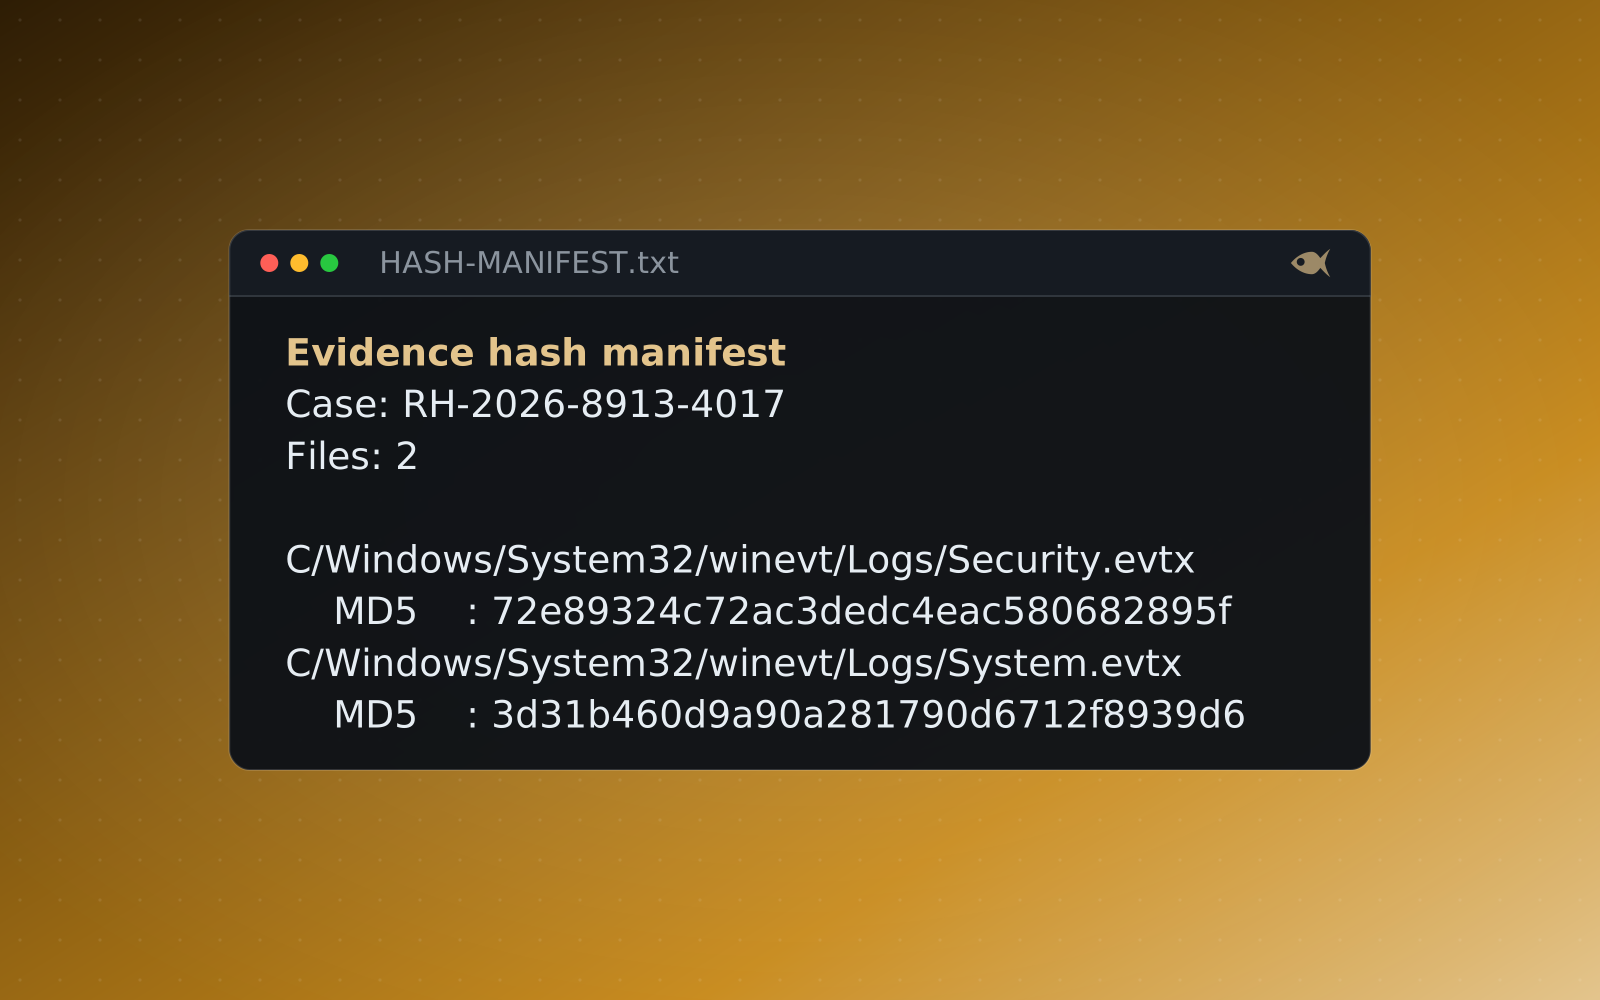
Red Herrings prints the MD5 and SHA-256 of every evidence file on each student's worksheet and in the package's hash manifest, so the comparison is built in. Because every student's package is a different variant, every student's hashes are different too, which quietly removes the temptation to copy a classmate's first row.
The form isn't paperwork about the evidence. It's the evidence that the evidence is what you say it is.
How to grade it
Grade the form as part of every lab, at a small fixed weight, and grade it strictly. Five percent of the lab is enough to make it matter and too little to make anyone resentful. The checks are mechanical and quick:
- Hash present, algorithm named, value matches the published hash exactly. A transcription error is a fail on that line; in practice, so is a hash that can't be reproduced.
- Every time carries a zone. "14:05" is incomplete. "14:05 EDT" or "18:05 UTC" is complete.
- No gaps. Each transfer row's "received by" is the next row's "released by".
- No blanks. "N/A" where a field doesn't apply, never an empty box.
- Legible, and signed where a signature is called for.
Pair the form with the forensic report checklist, also on the resources page, which has a line for "evidence identified and hashed; chain of custody attached". When the report is graded on a rubric at the end of term, the custody line is already habitual. Our post on grading forensics labs fairly covers the rest of the grading scheme.
The mistakes students make
The same handful, every term. Naming them in week 1 saves a lot of red ink.
- Hashing after opening. A student mounts the image, browses it, then remembers the form. For a read-only image the hash will still match, but the habit is wrong, and on a live device it would have altered the evidence. Hash first, always.
- Copying the published hash instead of computing it. The row then proves nothing. Ask for the command used and its output, not only the value.
- Local time without a zone, or worse, a mix of local and UTC on the same form because one came from the operating system clock and one from a tool.
- Describing the evidence by what it contains ("the suspect's laptop image") rather than what it is (filename, format, size, source device serial).
- Treating the form as a one-time document. A copy of the evidence onto a lab machine is a transfer. A hand-off to a lab partner is a transfer. Each one is a row.
- Leaving the form behind when the report is written. The report cites findings; the appendix carries the form that makes them admissible. A report without the form is incomplete, and should be marked that way.
None of this is difficult. That's the point. Chain of custody is a set of small, boring, repeatable acts, and the only way to teach something boring and repeatable is to make students repeat it until they stop noticing. Start in week 1, with a hash and a form, and by the capstone it's how they work.
Run the free First Look cases or download the sample lab, or start the 30-day trial with sample cases to try, and generate a per-student case.